Nuvolaris First Steps
Starting at the Front
Right now, after a freshly installation, if we visit the <apihost> you will see a very simple page
with:
Welcome to Nuvolaris static content distributor landing page!!!
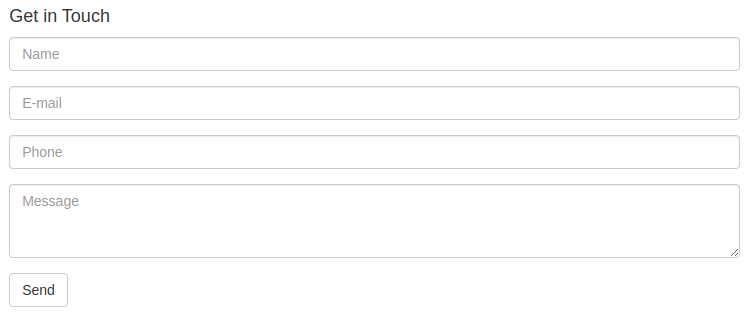
That’s because we’ve activated the static content, and by default it starts with this simple index.html page. We will instead have our own index page that shows the users a contact form powered by Nuvolaris actions. Let’s write it now.
Let’s create a folder that will contain all of our app code: contact_us_app.
Inside that create a new folder called web which will store our static frontend, and add there a index.html file with the following:
<!DOCTYPE html>

<head>
   <link href="//maxcdn.bootstrapcdn.com/bootstrap/3.3.0/css/bootstrap.min.css" rel="stylesheet" id="bootstrap-css">
</head>

<body>
   <div id="container">
      <div class="row">
         <div class="col-md-8 col-md-offset-2">
            <h4>Get in Touch</h4>
            <form method="POST">
               <div class="form-group">
                  <input type="text" name="name" class="form-control" placeholder="Name">
               </div>
               <div class="form-group">
                  <input type="email" name="email" class="form-control" placeholder="E-mail">
               </div>
               <div class="form-group">
                  <input type="tel" name="phone" class="form-control" placeholder="Phone">
               </div>
               <div class="form-group">
                  <textarea name="message" rows="3" class="form-control" placeholder="Message"></textarea>
               </div>
               <button class="btn btn-default" type="submit" name="button">
                  Send
               </button>
            </form>
         </div>
      </div>
   </div>
</body>

</html>
Now we just have to upload it to our Nuvolaris deployment. You could upload it using something like curl with a PUT to where your platform is deployed at, but there is an handy command that does it automatically for all files in a folder:
nuv web upload web/Pass to nuv web upload the path to folder where the index.html is stored in (the web folder) and visit again <apihost>.
Now you should see the new index page:
The Contact Package
The contact form we just uploaded does not do anything. To make it work let’s start by creating a new package to hold our actions. Moreover, we can bind to this package the database url, so the actions can directly access it!
With the debug command you can see what’s going on in your deployment. This time let’s use it to grab the "postgres_url" value:
nuv -config -d | grep POSTGRES_URLCopy the Postgres URL (something like postgresql://…). Now we can create a new package for the application:
nuv package create contact -p dbUri <postgres_url>
ok: created package contact
The actions under this package will be able to access the "dbUri" variable from their args!
To follow the same structure for our action files, let’s create a folder packages and inside another folder contact to give our actions a nice, easy to find, home.
To manage and check out your packages, you can use the nuv packages subcommands.
nuv package list

packages
/nuvolaris/contact  private
/nuvolaris/hello    private     <-- a default package created during deployment
And to get specific information on a package:
nuv package get contact

ok: got package contact
{
    "namespace": "nuvolaris",
    "name": "contact",
    "version": "0.0.1",
    "publish": false,
    "parameters": [
        {
            "key": "dbUri",
            "value": <postgres_url>
        }
    ],
    "binding": {},
    "updated": 1696232618540
}